Available on plans: Professional, Premier, Enterprise
Use the Zapier Plugin to send form responses to a Zap where you can connect to thousands of other services. Zapier Webhooks require a Premium Zapier account.
✅ Hint: Complete your form first, then setup this plugin - so you can send test data to Zapier.
Setup the Plugin
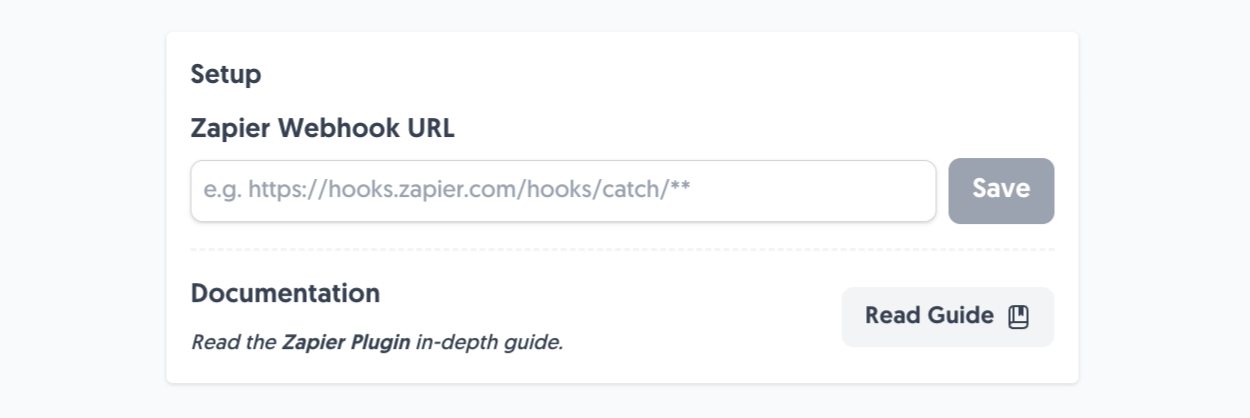
Navigate to the Plugins tab on your selected form, choose “Zapier” then you’ll see a field to drop in your Zapier webhook URL.
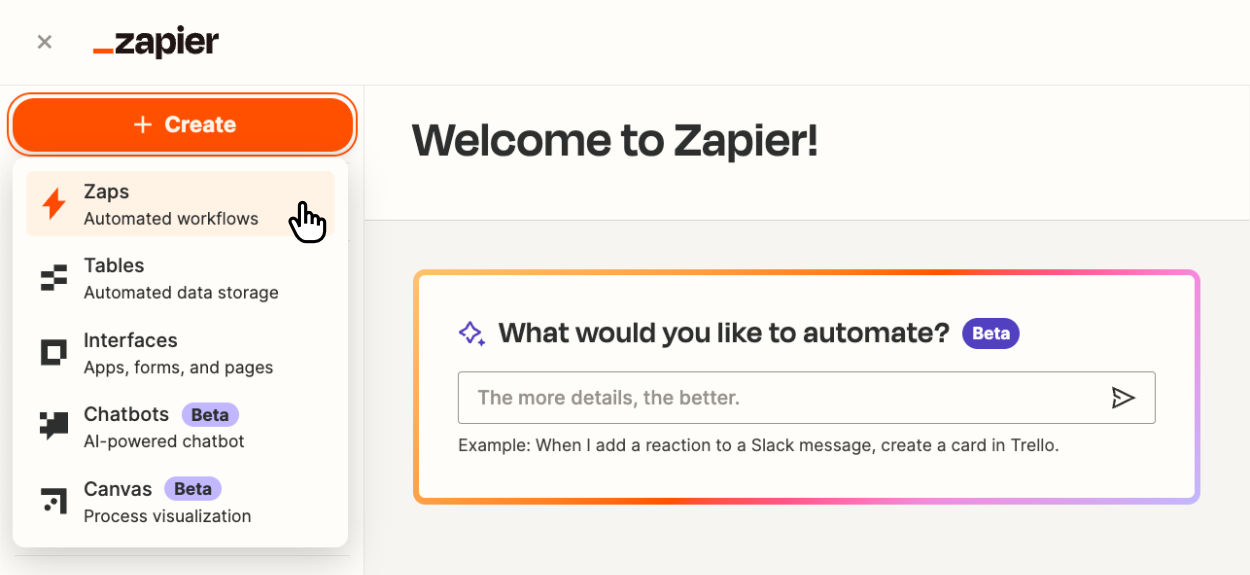
To get a Zapier webhook URL, inside the Zapier homepage you’ll see a big “Create” button, click this and select “Zaps”:
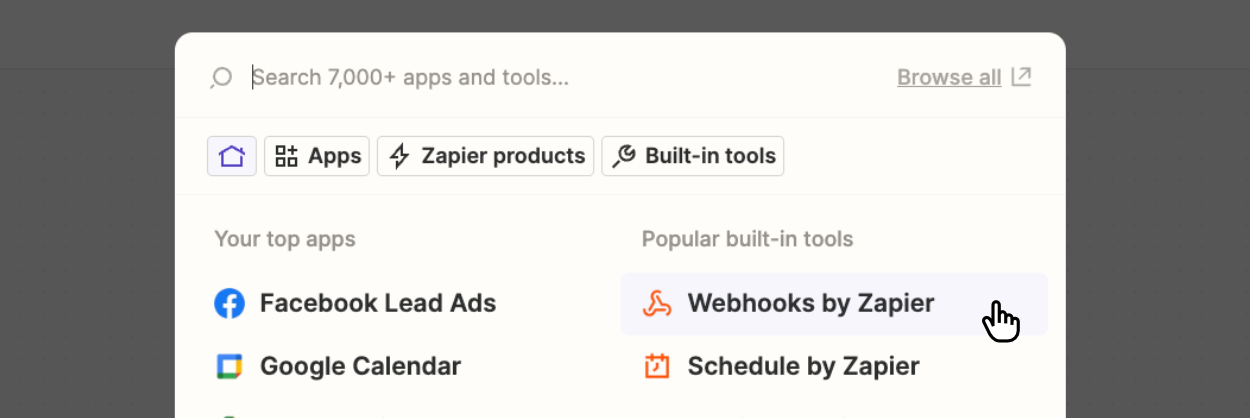
You’ll be taken to a new Zap board where you’ll need to select a Trigger, click on it:

This then reveals a popup where you next select “Webhooks by Zapier”, click this:
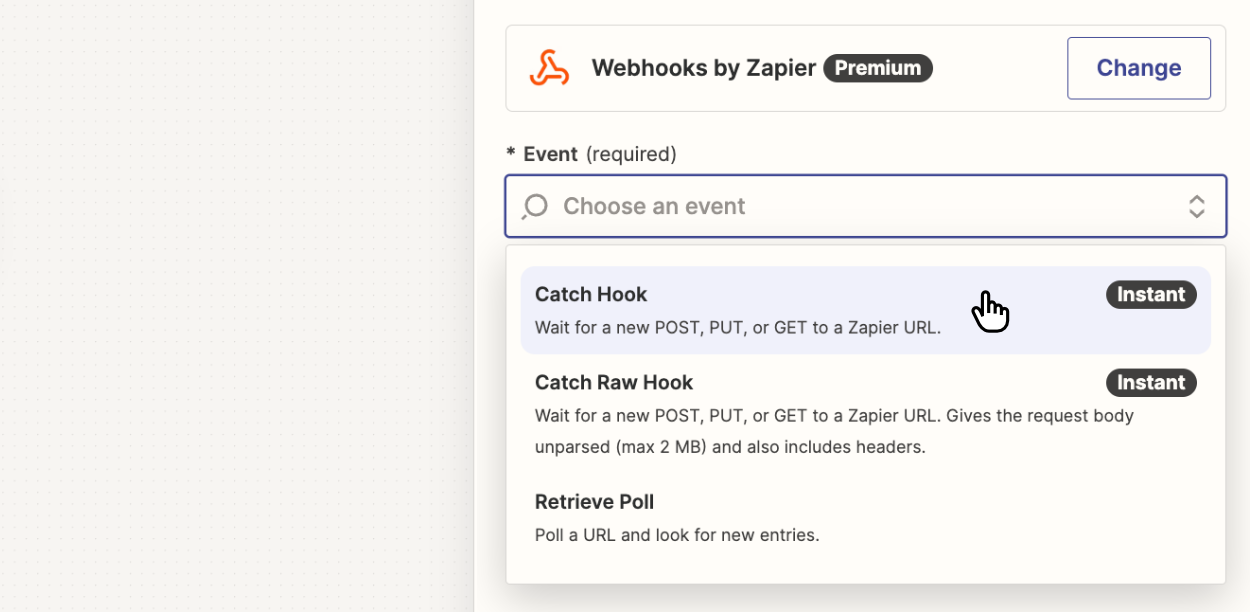
And then select “Catch Hook” in the sidebar and press “Continue”:
You’ll then be asked if you wish to pick off a “child key”. You can leave this option blank and press “Continue”.
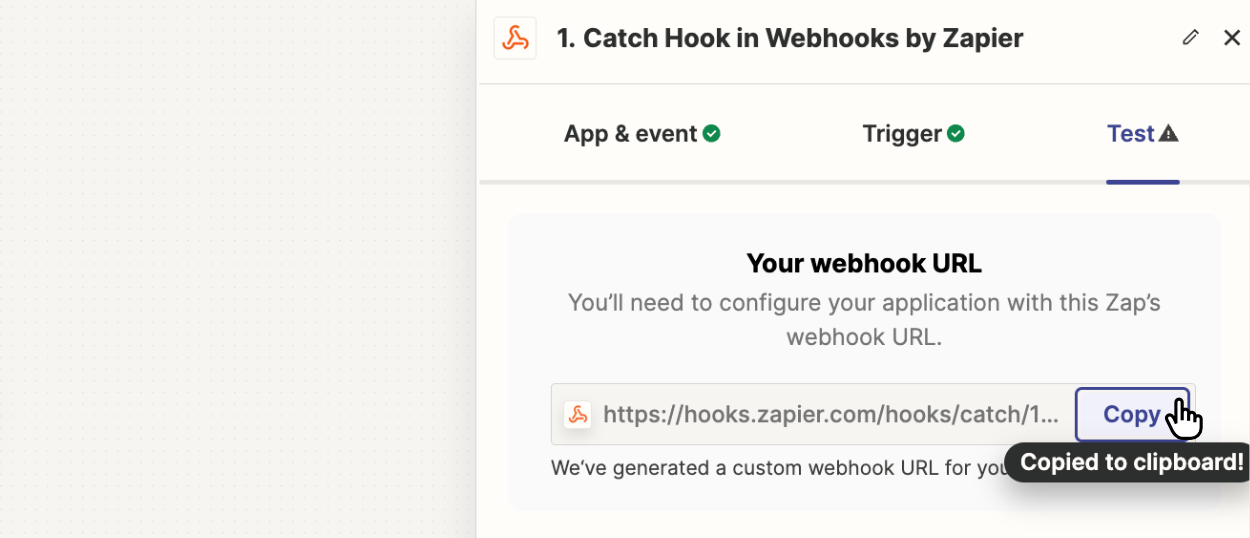
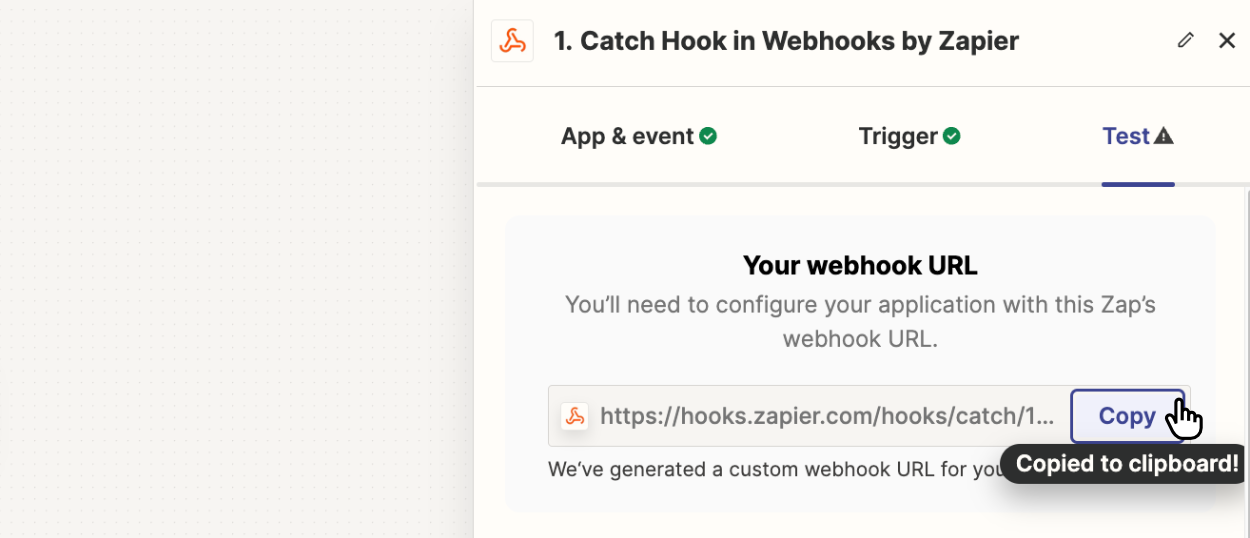
After continuing, you’ll get a newly generated Zapier webhook URL, press “Copy”:
Next, head back to the Zapier Plugin page and paste the copied Zapier Webhook URL into the Zapier plugin field, click “Save”, and you’re all set!
Once setup, you’ll see the saved Zapier webhook URL in the plugin configuration.
Plugin Demo
After setting up the Zapier Plugin, it’s time to take it for a spin. Add some fields to your form if you haven’t already, and hit Submit:

Then, if you haven’t already, go back to your Zapier webhook that we just copied and you’ll see a “Test” tab and button:
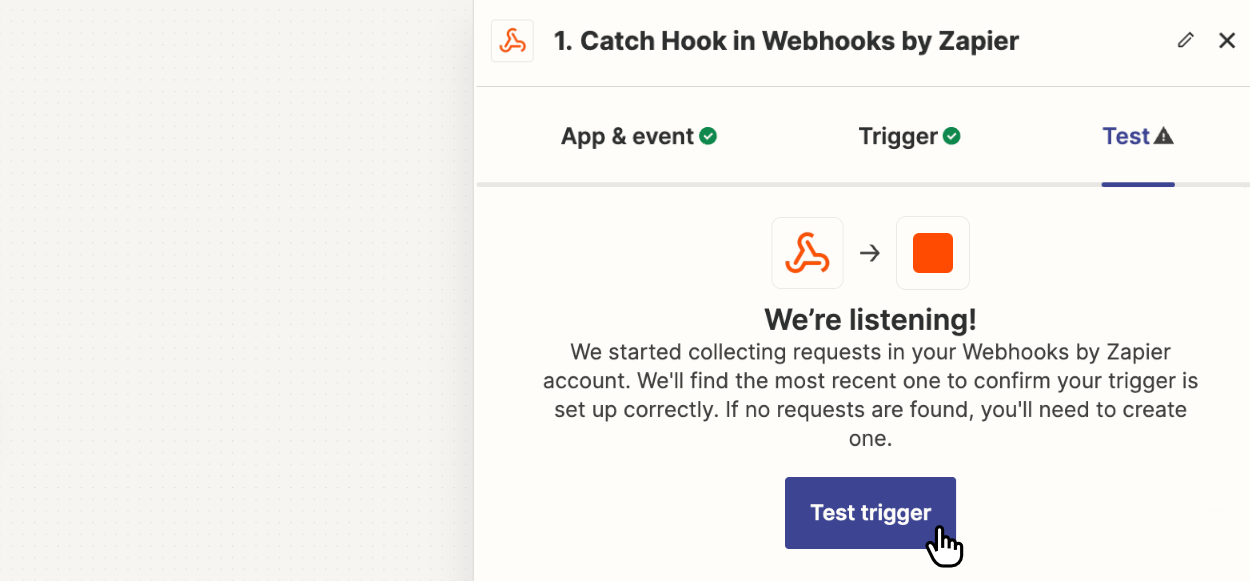
After clicking the “Test” button, Zapier should pull in the latest form response for you to continue creating your Zap:
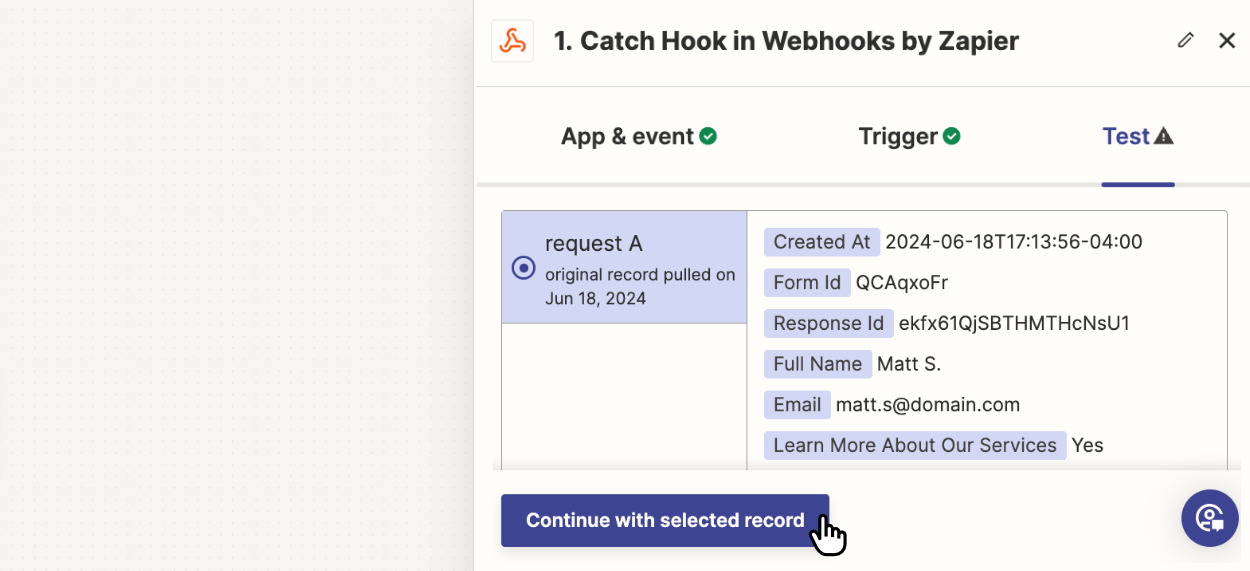
We send the full form response along with the createdAt timestamp (set to our Timezone), the formId and the responseId (which is unique every time).
For additional information on constructing your own Zaps, consult the Zapier Documentation.
From now on, every time a user submits your form, your Zapier webhook receives the full form response.
Then, you can connect it via Zapier’s thousands of integrations and send it wherever you need to.
That’s it! You can contact us for help anytime.
Create incredible forms to run your business.
Join companies of all sizes using Form Falcon to manage their business, generate more sales and power custom workflows.
Try It FreeFree 30-day trial, no credit card required.